|
|
Manage Topography Assigning topography data to a pit |
Manage Topography

To access this task:
-
Activate the Setup ribbon and select Pits | Surface Topo
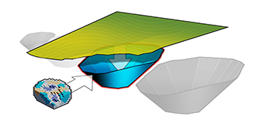
To create accurate solids within each pit (to represent mining phases, phase-benches and mining blocks), Studio OP needs a topography surface file to be assigned to each pit. A topography is assigned to each pit using the Manage Topography task.
The rules:
- Only one surface file can be used for each individual pit. The surface must cover the area of the pit.
- The same topography surface can be used for multiple pits. It has to cover all the pits for which it is used.
- To assign a topography to a pit the project's pits must have been defined using the Manage Pits task.
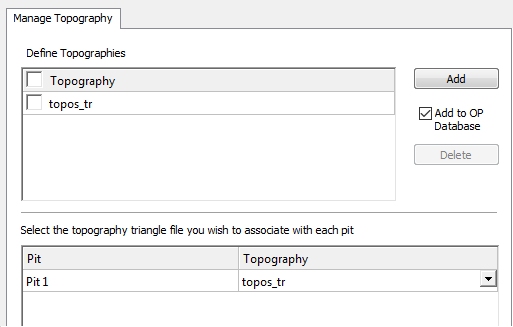
Using the Manage Topography task, you associate one of the pits defined in the previous stage (Manage Pits) with a wireframe triangles file representing the relevant topography for that pit. You can define as many topographies as you wish, using the upper portion of the task pane, however, only one of the defined topographies can be assigned to a pit in the lower portion of the screen, e.g:

You can delete multiple topographies in one operation by selecting multiple check boxes prior to selecting Delete.
Wireframe Preparation
Once a topography has been defined for the elected pit, you can (and should) make sure that it is in an expected format, e.g. it is 'clean' without unexpected holes, overlapping triangle edges etc.
An automatic verification of the incoming data will be performed, and if any shared edges, intersections etc. can be found, they will be reported to you. You can still continue to import the data if you wish but this is not advisable as subsequent functions in the Reserves workflow are dependent on a fully-formed digital terrain model.
Useful tools for surface data preparation:
- wireframe-verify command, click here.
- wireframe-clean command, click here.
| |
Related Topics |
|
|
The Reserves Workflow
Manage Pits Verify your Wireframe Verify Examples Cleaning your Wireframe |
Copyright © Datamine Corporate Limited
JMN 20045_00_EN


